DIY Router
After a year or so trying out OPNSense on a ZimaBoard, a bungled upgrade debacle made me realise it was time for a significant router upgrade.
I looked at a few options, with the requirements:
- NVME storage (No eMMC - its slow and wears out)
- Ideally 16GB RAM to support intrusion detection and extra tools
- At least 3 ethernet ports (for CARP)
- Must be easily fixable/replaceable by me, in Australia
- 1GgE ethernet is all my switches support, and I’m not planning on upgrading due to cost
OPNSense Appliance
OPNSense ship their own appliances, designed and manufactured in Europe. These are slick units with a choice of either desktop or rack mount form factors.
As much as I wanted to buy one to support the project, the basic model I selected was still €678 ($1124AUD) + shipping.
There’s a few video reviews on other models on youtube. The hardware seems solid but getting parts under warranty in Australia is not going to be a 24 hour turnaround and its just SO expensive.
OPNSense Appliance x2, for HA with CARP failover
OPNsense lets you do HA for routers with HA-CARP. This is an OPNSense specific HA protocol that lets a backup router take over if the main one fails. This would also let you do scheduled maintenance without an internet outage.
The drawback of this approach is that you now need 2x routers and 2x uplinks to your ISP. This type of HA protects you only against outages caused by router fault/reboot.
Since I can only get one IP address at a time from my ISP, I abandoned this approach.
Protectli Mini PC
The Protectli mini PCs are quite nice, I almost bought one but they are quite expensive for what you get and there are some identical looking boxes on AliExpress as well. Since its a mini-pc, your also stuck with whatever you bought in terms of network ports.
Cost with options came to about $500USD (700AUD) + shipping, high enough that we’re into full PC territory, but we are still getting very basic PC hardware for the price.
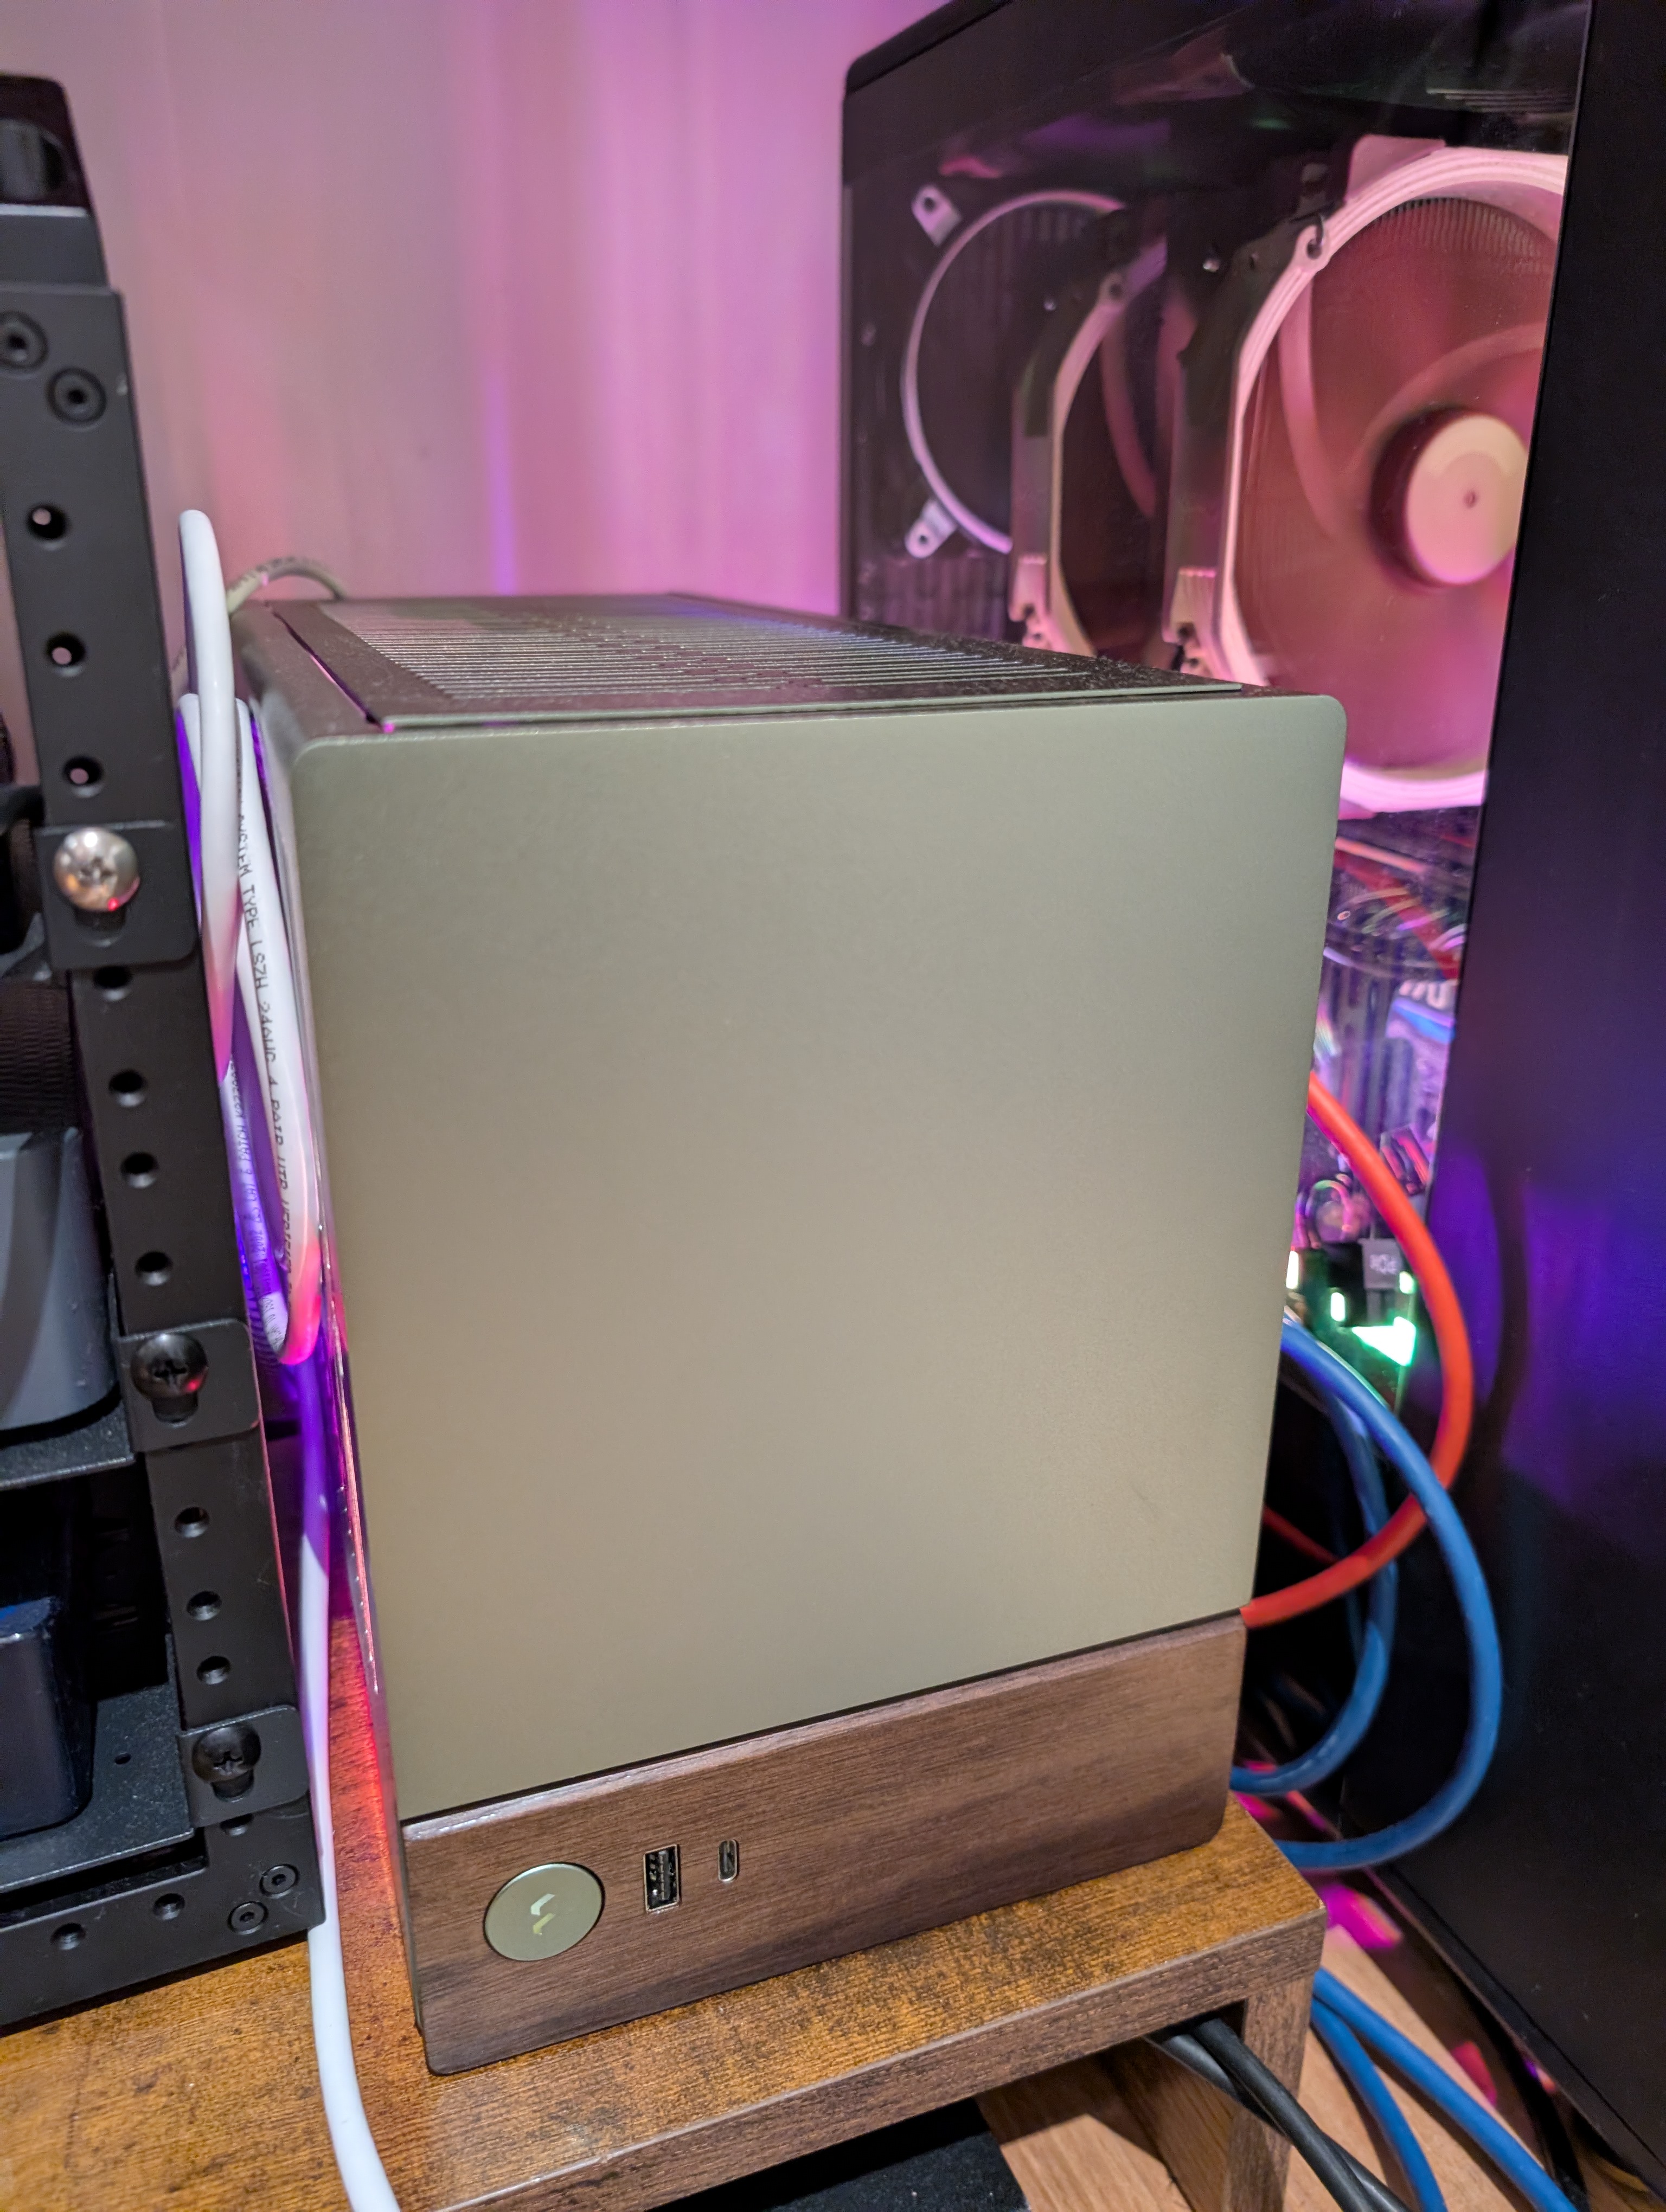
Build a small PC!
In the end, I decided to just build myself a mini ITX PC, recycling some parts I already had and going deluxe with the case and cooler. Is this overkill? Absolutely:
| Item | Price |
|---|---|
| AMD Ryzen 5 5500GT | $175.00 |
| ASRock - B550M-ITX/ac | $209.00 |
| Crucial 500GB NVMe | $145.00 |
| Noctua - NH-L9x65 | $130.00 |
| Fractal Design Terra Jade Mini + CORSAIR SF750 PSU | $496.00 |
| 16 GB DDR | $0 |
| Dual Intel I350-T2 NIC | $0 |
This setup means I have a quiet, powerful router platform that will last for years to come and handle anything I can throw at it with my current 1GbE network. I can very easily upgrade the networking hardware if I want to, along with anything else. If I get any hardware failures, I can source replacements locally and get them within 24 hours, and I have a seriously cool looking router I built myself.
Deployment architecture
There is enough hardware here to do things like run OPNSense in a VM, and also host other network services. This could let me do things like implement the HA/CARP setup with VMs. I’m pretty confident I could make this work with libvirt but at this point I took a pause and reached out to my colleagues at Confluent and setup a quick slack poll on our #homelab channel.
The results was unanimous: Run OPNSense on bare metal.
While this means no VM based HA or ability to take VM snapshot backups, the gain is a much simpler overall system that is basically just a simple FreeBSD system. Big problems? Plugin a screen and keyboard. The consensus was that an appliance-style deployment is just so much simpler to troubleshoot, and the nice thing about having this DIY setup is that if I ever did want to go the VM route in the future, its very easy to do so with no additional hardware purchase needed.
OPNSense Install
Installing OPNSense was extremely easy. Just boot the VGA installer from USB and install.
This time, I made sure to fix all the static leases I cared about in the old router before doing a final backup and then restored this onto the new router.
There were only a couple of gotchas in this process:
- Had to enable CSM boot/disable secure boot
- Interface devices had changed vs the backup so needed adjustment
After these changes, I was up and running in minutes.
Verdict
It’s been about a month now and this router PC has been rock solid. It just sits there looking pretty and is almost completely silent thanks to the Noctua cooler. I have not thought more about converting to VMs since everything just works.
If your thinking of building your own PC for OPNSense, I highly recommend it if your comfortable building your own Computers.